


Upgrading your property's climate control setup requires detailed preparation to comply with strict UK building codes. Updated Building Regulations Part F (ventilation) and Part L (fuel and power conservation) set strict airflow performance and heat loss metrics. Following sound HVAC & Air Quality Equipment recommendations UK property owners rely on streamlines this entire planning phase. Proper preparation prevents costly sizing mistakes, lowers annual energy bills, and creates a healthier indoor environment.
Table of Contents
- HVAC & Air Quality Equipment Recommendations UK: Project Overview
- Step 1: Review UK Building Regulations and Efficiency Standards
- Step 2: Calculate Heating, Cooling, and Ventilation Loads
- Step 3: Select Integrated HVAC and Dehumidification Equipment
- Step 4: Position and Install Air Purification and Filtration Components
- Step 5: Commission, Balance, and Test Your Ventilation System
- Troubleshooting Common UK HVAC and Air Quality System Issues
- Frequently Asked Questions About HVAC & Air Quality Equipment Recommendations UK
To get the best results, start by evaluating your property's current air quality and heating demands. This step ensures your new hardware runs smoothly for years to come.
Estimated initial property audit time: 3 to 5 hours.
Required Tools and Baseline Data
Before choosing any new mechanical ventilation or heating hardware, gather these essential tools and data points:
- Laser distance measure: Calculate precise room volumes in cubic metres ($m^3$) to accurately size your mechanical ventilation system.
- Indoor air quality monitor: Record baseline carbon dioxide ($CO_2$), volatile organic compounds (VOCs), and relative humidity across 48 hours.
- Vane anemometer: Measure the actual airflow speed of existing extraction units in litres per second ($l/s$).
- EPC certificate and SAP calculations: Review insulation performance values to determine peak heating and cooling loads.
Preparation Steps for System Upgrades
Follow these steps to establish your equipment specifications before buying any hardware:
- Map room airflow targets: Calculate required continuous and purge ventilation rates for wet rooms and living spaces under UK indoor air quality regulations.
- Inspect property infrastructure: Check consumer unit electrical capacity, existing ducting routes, and external wall access for core drilling. To optimize fan speeds and electrical efficiency across larger commercial air handlers, installing 3-phase motor controllers for ventilation should also be considered.
- Determine filtration requirements: Identify environmental factors like road traffic, seasonal pollen, or excess damp to specify HEPA filtration systems or specialized media filters.
- Target compliance standards: Choose energy-efficient HVAC designs that deliver heat recovery efficiency above 85% to support BREEAM compliant ventilation targets.
Pro tip: Check local planning guidelines before cutting external wall penetrations or placing outdoor compressor units. This step is vital if your building sits within a UK conservation area.
With your preparation complete, you can now evaluate the total time, cost, and complexity of the project.
HVAC & Air Quality Equipment Recommendations UK: Project Overview
Upgrading indoor climate systems requires careful planning to ensure long-term performance and high efficiency. This overview outlines the resource needs when following expert HVAC & Air Quality Equipment recommendations UK installer teams share.
- Estimated Time: 2 to 4 weeks for site surveys, system specification, and equipment delivery. Professional installation takes 3 to 7 working days depending on building layout.
- Estimated Cost: £1,500 to £4,500 for compact residential retrofit systems. Comprehensive commercial or whole-house installations range from £6,000 to £25,000 depending on ductwork demands.
- Difficulty Rating: Moderate to High. Standard ventilation upgrades score 3 out of 5 for setup complexity. Integrated heat recovery and central air purification score 5 out of 5.
Proper planning ensures your installation aligns with current UK indoor air quality regulations. Qualified contractors help balance energy-efficient HVAC targets with mandatory standards like Building Regulations Part F and Part L.
Pro tip: Book an initial site survey before buying equipment. Certified engineers will test static pressure, assess duct capacities, and evaluate existing power supplies to prevent project delays.
After setting your project goals, you must review the regulatory standards that govern UK installations.
Step 1: Review UK Building Regulations and Efficiency Standards
Estimated time: 45 minutes
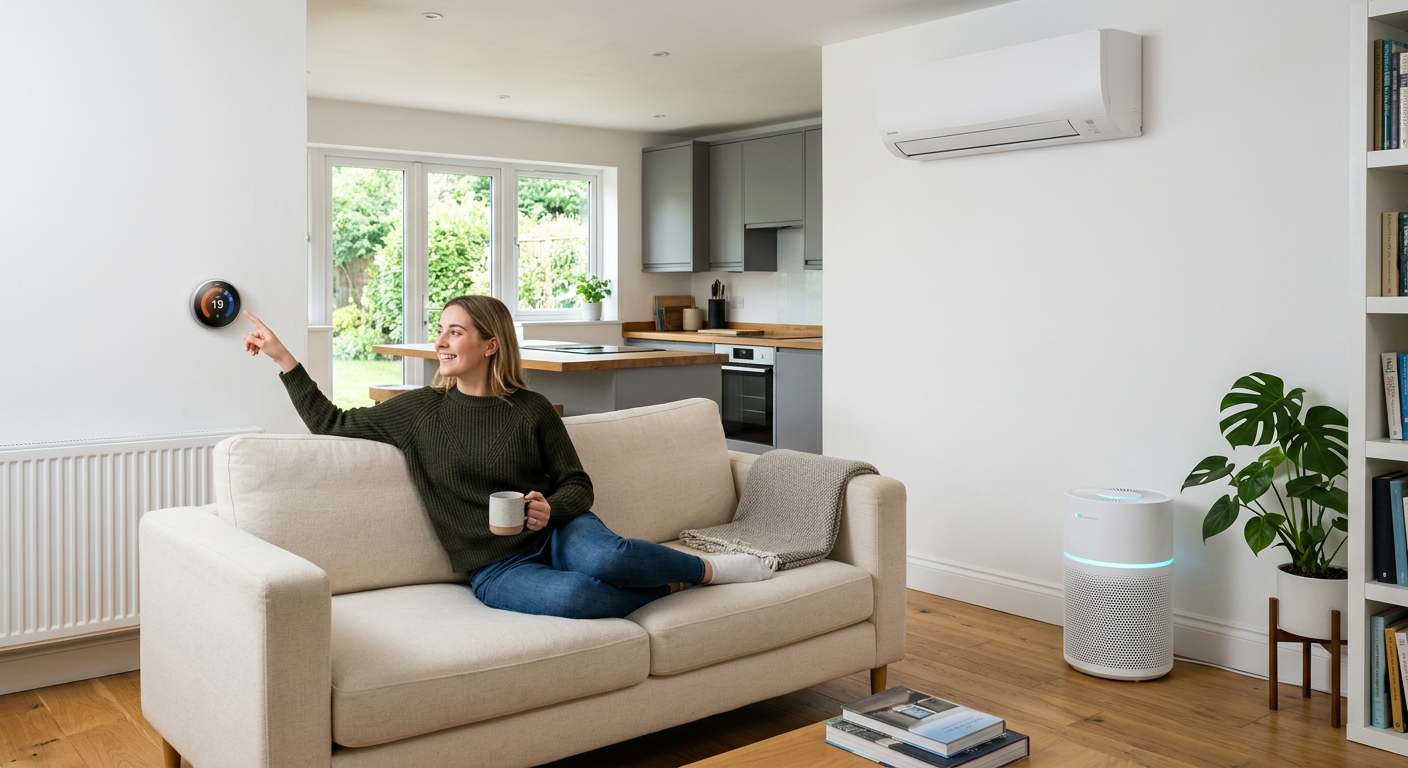
First, review the mandatory UK Building Regulations for your specific property type. Regulations set the baseline for compliance, energy efficiency, and occupant safety.
- Calculate target air turnover under Part F. Approved Document F mandates specific minimum ventilation rates to prevent moisture and pollutant buildup. Dwellings require a continuous baseline rate between 0.3 and 0.5 air changes per hour (ACH). Commercial offices require higher outdoor air supply rates based on occupancy design.
- Verify specific fan power under Part L. Approved Document L covers energy conservation in buildings. Choose fan units with a low Specific Fan Power (SFP)—ideally below 0.8 W/(l/s) for residential mechanical ventilation. Low SFP reduces operational costs and satisfies efficiency metrics.
- Target BREEAM indoor air quality credits. For commercial spaces aiming for sustainable accreditation, evaluate BREEAM Hea 02 criteria. Achieving these credits requires baseline indoor air testing and proper carbon dioxide monitoring.
Pro tip: Always measure your building's air permeability before choosing an HVAC layout. Highly sealed structures with air leakage below $3\text{ m}^3/(\text{h}\cdot\text{m}^2)$ at 50 Pa require continuous, balanced mechanical ventilation to prevent mold growth.
Understanding ISO 16890 Filtration Ratings (ePM1 vs. ePM2.5)
The ISO 16890 standard classifies filters by how effectively they capture particulate matter across different particle sizes. It replaced the older EN 779 standard across Europe and the UK.
- ePM1 filters: These filters capture fine particles smaller than 1 micron. They trap diesel particulate matter, combustion smoke, and atmospheric fine dust. Select an ePM1 rating (such as ePM1 55% or higher) for urban centers or properties near busy roadways.
- ePM2.5 and ePM10 filters: These filters capture larger ambient particles, including plant pollen, fungal spores, and coarse road dust. An ePM2.5 50% filter is often sufficient for rural or suburban UK environments where traffic density remains low.
Selecting the right filter grade ensures clean indoor air while preventing extra strain on your ventilation motors. Higher filtration levels create more airflow resistance. Balance filter efficiency against fan power limits to protect your equipment.
Once you know your regulatory targets, you can calculate the exact heating and ventilation loads for each room.
Step 2: Calculate Heating, Cooling, and Ventilation Loads
Estimated time: 45 to 60 minutes per property zone.
Follow these primary calculations to size your system correctly:
- Conduct a room-by-room heat loss assessment.
Start by gathering your floor plans and insulation details. Measure the surface area of external walls, floors, roofs, and windows. Multiply these areas by their respective U-values to find fabric heat loss. Account for draughts by adding air infiltration losses. In the UK, design calculations assume an outside winter temperature of -3°C for southern England and -5°C for northern regions. According to CIBSE design guides, standard residential heating loads range between 30 and 60 Watts per square metre for modern insulated homes. Older, uninsulated properties can exceed 100 Watts per square metre.
- Determine ventilation rates for air quality and moisture control.
Review UK Building Regulations Part F for minimum airflow requirements. Calculate the baseline ventilation rate needed for human health and comfort. Dwellings typically require roughly 0.3 to 0.5 air changes per hour. For Mechanical Ventilation with Heat Recovery (MVHR) units, calculate boost extraction rates for wet rooms. Ensure your system delivers minimum extract rates of 13 litres per second for utility rooms and 15 litres per second for bathrooms. Correct airflow prevents excessive relative humidity, which eliminates damp risks and indoor mould growth.
- Size heat pumps and supplementary heaters.
Match your total heat loss calculation directly to unit capacities. Select an energy-efficient heat pump that covers peak heat loss at your local design temperature. Avoid over-sizing the system. Excessive capacity causes frequent power cycling, which wastes electricity and wears down mechanical parts. If your property experiences rare cold snaps, add supplementary duct heaters or localized electric fan heaters. These backup units satisfy brief surges in demand without forcing you to buy oversized main equipment.
Pro tip: Always balance your ventilation calculations against damp risks. In airtight UK buildings, target an indoor relative humidity level between 40% and 60%. Oversizing ventilation without heat recovery leads to costly heat loss. Undersizing causes condensation on cold surface walls.
With your room calculations complete, you can select hardware that satisfies your heating and humidity needs.
Step 3: Select Integrated HVAC and Dehumidification Equipment
Estimated time: 1 to 2 hours for design review.
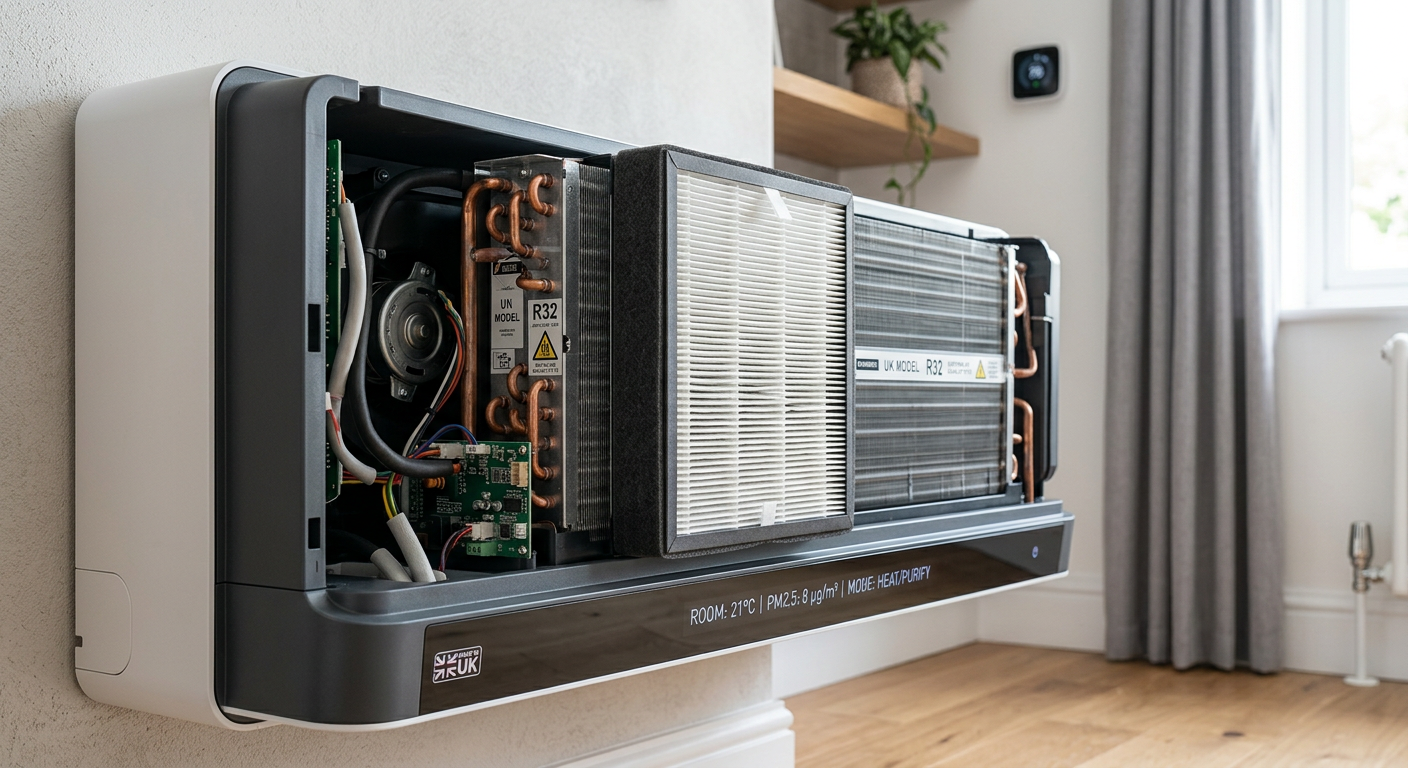
Match your heating, cooling, and moisture equipment to your building layout and thermal demands. Air-source heat pumps provide efficient low-carbon space heating for well-insulated properties. Ductless mini-split units deliver rapid room-by-room temperature control and active cooling during peak summer heat.
For larger commercial properties, Low Pressure Hot Water (LPHW) unit heaters connect directly to central hydronic boilers. They deliver strong heat output across wide open spaces while controlling fuel consumption. Always combine main space heating with dedicated dehumidification to maintain balanced indoor air quality across all seasons. Following expert HVAC & Air Quality Equipment recommendations UK guidelines helps you pick units that work well together.
Tackling Modern UK Damp and Mould with Whole-House Moisture Control
The UK maritime climate presents serious humidity challenges throughout the year. Recent building insulation upgrades make properties airtight, but they also trap moisture indoors. Cooking, bathing, and human activity push indoor relative humidity above 60 percent. High moisture levels quickly cause window condensation and persistent damp.
Dedicated whole-house dehumidifiers pull wet air from living areas through central ductwork. Refrigerant units operate efficiently in warm spaces above 15 degrees Celsius. Desiccant units perform reliably in unheated spaces like basements or utility rooms. Both options maintain relative humidity within the ideal 40 to 50 percent range.
According to the UK Health Security Agency, damp indoor environments encourage harmful mould spores. Continuous moisture control stops condensation before mould can settle on walls or window frames. Integrating whole-building dehumidification with mechanical supply and extract systems ensures compliance with UK building ventilation regulations.
Once you choose your main HVAC units, you must install and position your filtration devices properly.
Step 4: Position and Install Air Purification and Filtration Components
Installing air purification components correctly maximizes airflow efficiency and improves overall climate control. Follow these clear instructions to fit duct-mounted units, commercial scrubbers, and trickle vents safely.
Estimated Time: 3 to 5 hours for complete system installation.
- Mount Duct-Mounted HEPA Filters
Locate the main return air plenum on your heating or ventilation system. Position the filter housing upstream of the central air handler. This placement protects sensitive internal components while cleaning air before distribution. Anchor the housing securely using rubber vibration isolation mounts. Verify that the airflow arrows on the HEPA frame align with duct circulation. For properties requiring high volume standalone units alongside ducted networks, incorporating HEPA H13 air purifiers for large rooms provides powerful supplementary filtration.
- Position Commercial Air Scrubbers
Place standalone scrubbers in high-traffic zones or near targeted pollution sources. Maintain at least 50 centimetres of clear space around intake grilles. Direct the outlet grilles toward the center of the room to encourage uniform air mixing. According to guidance from the UK Health and Safety Executive, proper room positioning helps maintain recommended air change rates across large spaces. In commercial noise-sensitive areas like open-plan offices or educational facilities, choosing high-capacity low-noise air purifiers maintains quiet acoustic conditions while ensuring high filtration rates.
- Install Trickle Ventilation Systems
Fit trickle vents into upper window frames or dedicated wall sleeves. Align installation depth with UK Building Regulations Approved Document F requirements. Mount vents high on the frame, ideally above 1.7 metres, to eliminate cold draughts at seat level. Position internal deflectors upward to blend fresh outdoor air with warm room air near the ceiling.
- Seal Duct Connections and Check System Pressure
Apply aluminum foil tape or mastic sealant over every joint and mounting flange. Airtight connections prevent dirty bypass air from slipping around filter media. Turn on the ventilation unit and inspect all seals using a micro-manometer or smoke pen to confirm proper vacuum pressure.
Pro tip: Replace secondary pre-filters every three months. Fresh pre-filters trap coarse dust early. This protects delicate HEPA layers and extends main filter life significantly.
After placing all physical hardware, you must commission and balance your system to verify performance.
Step 5: Commission, Balance, and Test Your Ventilation System
Estimated time: 2 to 4 hours.
Follow these steps to ensure your system meets UK Building Regulations Approved Document F and workplace safety rules.
- Prepare the system for testing. Clean all air filters thoroughly. Ensure all ductwork connections are fully sealed. Turn off auxiliary heating units so only pure air movement is measured.
- Measure supply and extract airflow rates. Use a calibrated vane anemometer or flow hood at every terminal grille. Record the litres per second ($l/s$) output at each point.
- Adjust and balance MVHR valves. Lock the central unit to its design trickle rate. Turn individual supply and extract valves to adjust airflow until each room matches your design calculations. Once balanced, lock the valve adjusters in place to preserve the settings. Repeat this process for the boost setting.
- Verify EH40 and indoor exposure limits. For commercial spaces, measure airborne contaminants against Health and Safety Executive (HSE) EH40 workplace exposure limits. Check target levels for carbon dioxide ($CO_2$), volatile organic compounds, and airborne dust particles. Ensure baseline indoor $CO_2$ remains below 800 parts per million during normal occupancy. This step helps verify BREEAM indoor air quality performance.
- Document final airflow readings. Write down final flow rates on a standard commissioning sheet. Keep this report for building control approval and future routine maintenance audits.
Pro tip: Always complete airflow balancing before performing final acoustic testing. Unbalanced valves create higher static pressure, which increases fan noise across your duct network.
Even well-commissioned systems run into operational issues due to changing UK weather patterns.
Troubleshooting Common UK HVAC and Air Quality System Issues
UK weather brings unique challenges to climate systems. Cold winters and damp air often create predictable operational issues. Applying key HVAC & Air Quality Equipment recommendations UK technicians use helps you diagnose and resolve four frequent problems efficiently.
1. Prevent MVHR Core Freezing
When outdoor temperatures drop below freezing, moist exhaust air can freeze inside heat recovery cores.
- Inspect the electric pre-heater element to ensure auto-defrost triggers correctly.
- Check that frost-protection sensor settings match local winter averages.
Estimated time: 20 minutes.
2. Clear Condensation Backflow
Uninsulated ductwork running through cold loft spaces creates excessive moisture. This liquid then flows back into ceiling panels or fan housings.
- Check drain trays and condensate lines for standing water or debris.
- Wrap exposed ductwork with at least 25mm of foil-faced thermal insulation.
Estimated time: 45 minutes.
3. Eliminate Noise Transfer
Airflow hums and motor vibrations often travel through rigid ducting into quiet living spaces.
- Fit flexible acoustic silencers directly behind supply grilles.
- Mount fan units on rubber anti-vibration pads rather than solid ceiling joists.
Estimated time: 30 minutes.
4. Rebalance Airflow Distribution
Uneven room temperatures usually stem from improper air pressure balance across different zones.
- Open all adjustable trickle vents and room diffusers completely.
- Use an anemometer to measure airflow speed at each terminal vent.
- Adjust branch dampers until delivery rates match recommended CIBSE ventilation guidelines.
Estimated time: 60 minutes.
Pro tip: Clean or replace internal filters every three months. Clogged filters restrict airflow, raise acoustic noise levels, and trigger premature core freezing in cold weather.
Reviewing these common answers will clear up remaining questions about equipment choices and ongoing maintenance.
Frequently Asked Questions About HVAC & Air Quality Equipment Recommendations UK
What regulations govern indoor air quality in the UK?
UK property owners must follow Building Regulations Part F for ventilation. They must also comply with Part L for energy efficiency. Non-domestic buildings often follow design guidance set by CIBSE (Chartered Institution of Building Services Engineers). These framework rules ensure fresh air flow while keeping carbon emissions low across residential and commercial spaces.
How often should you replace HEPA filters in UK climate systems?
Most engineers recommend changing standard pre-filters every three to six months. High-efficiency HEPA filtration systems usually last six to twelve months in normal conditions. Urban locations with higher outdoor pollution may require more frequent changes to prevent airflow restriction and maintain clean air delivery rates.
Pro tip: Check filter pressure gauges monthly. A sudden drop in system airflow usually means your filter needs an immediate swap. Estimated replacement time is under 15 minutes for most ducted units.
Can air purifiers integrate with modern heat pump systems?
Yes, inline purifiers and duct-mounted filters connect directly to air-to-air heat pump networks. However, installer technicians must verify that the fan handles the extra resistance of dense filter media. Systems using air-to-water heat pumps typically require separate stand-alone air purification units or an integrated MVHR system.
How do BREEAM standards affect heating equipment choices?
BREEAM standards award points for low-carbon heating, heat recovery, and healthy indoor air metrics. Choosing energy-efficient HVAC equipment with certified air scrubbers helps commercial sites earn higher sustainability ratings. It also reduces overall running costs over time. Following proven HVAC & Air Quality Equipment recommendations UK standards ensures your facility meets these requirements cleanly.
About This Article
Editorial Disclosure: This article was researched and written by our content team to provide helpful, accurate information about HVAC & Air Quality Equipment recommendations UK. We regularly review and update our content to reflect the latest industry developments and best practices.
